
There’s something about knish that goes beyond its simple ingredients and modest appearance. Maybe it’s the golden crust, the warm, savory filling, or perhaps the stories it carries from Eastern Europe to the bustling streets of New York City, where it found a new home among immigrants looking for a taste of the familiar in a foreign land. For me, my knish journey began on a chilly afternoon in Brooklyn, where I stumbled upon a tiny, unassuming bakery touted to have the best knish in town. Spoiler alert: it did, and it sparked a love affair with this delightful pastry that has led me to where we are today—about to embark on a knish-making adventure together.
In this guide, I’ll walk you through everything you need to know to bring this piece of culinary history into your kitchen. From its origins to a step-by-step recipe that even beginners can master, get ready to wow your taste buds and maybe even impress a few friends along the way.
What is a Knish?
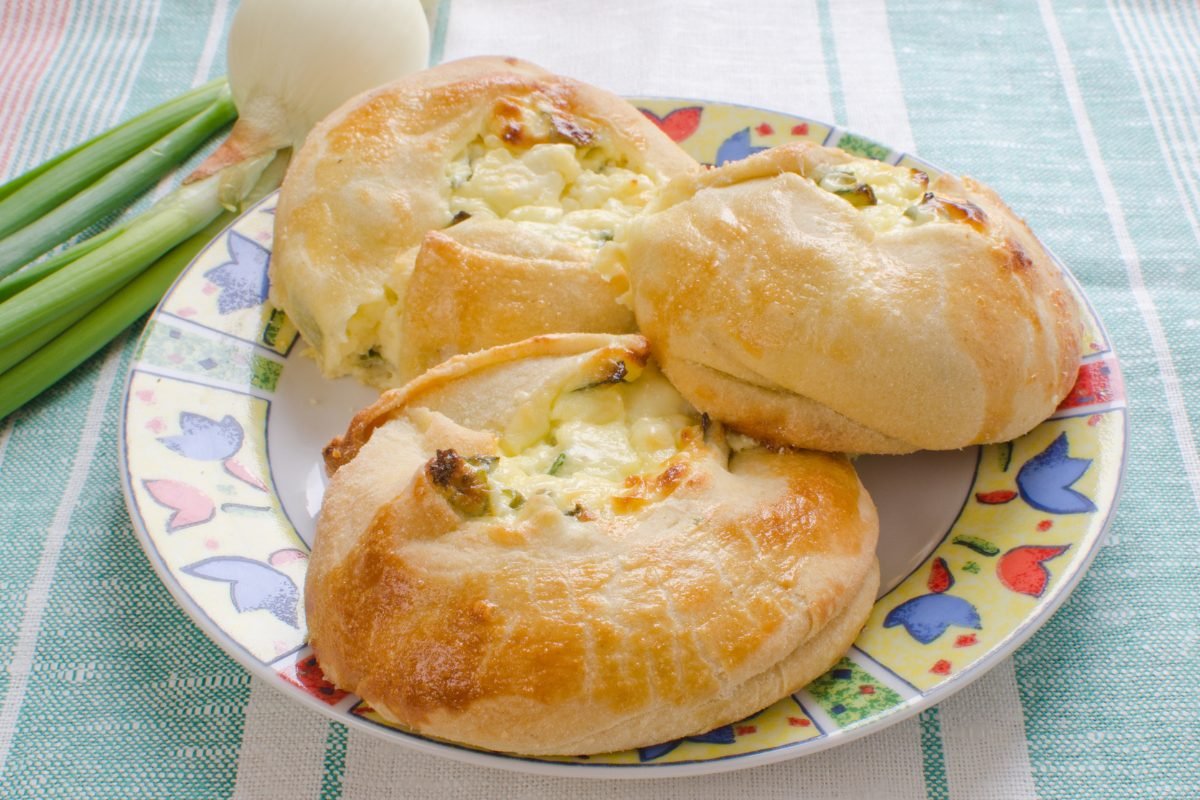
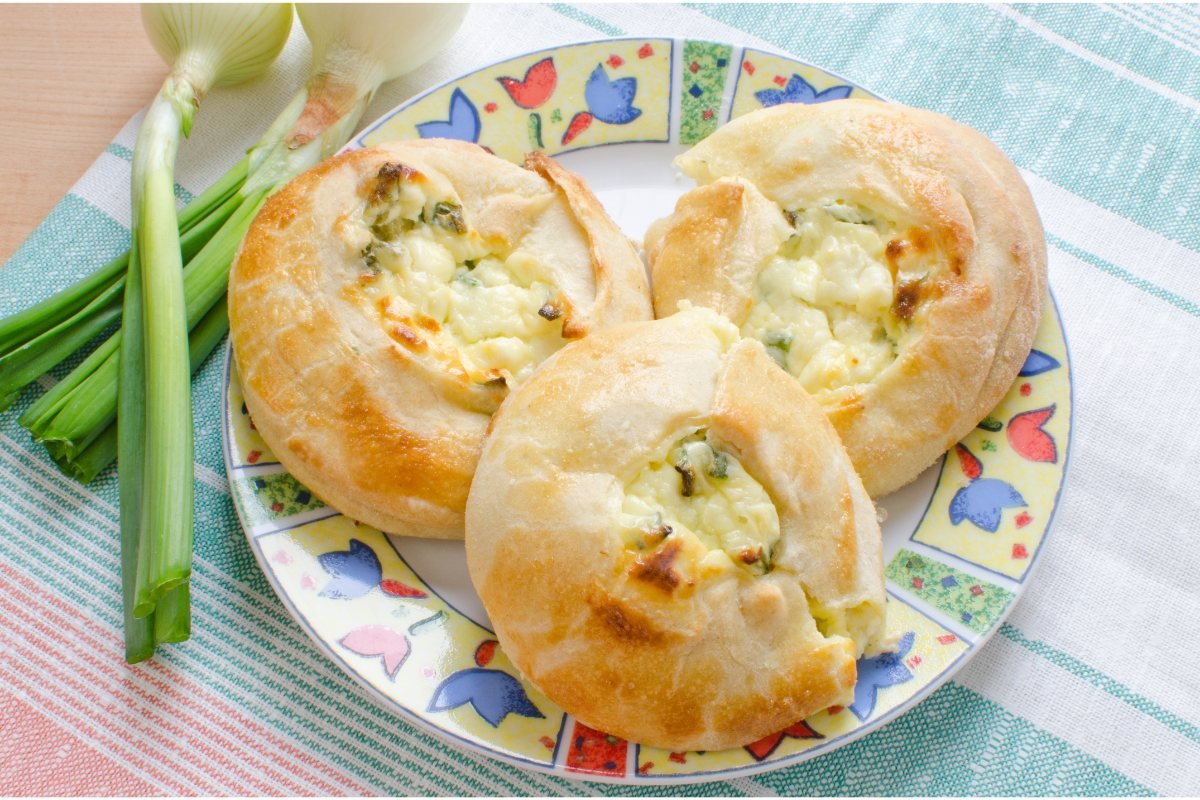
At its core, a knish is a pastry filled with deliciousness. Originating from Eastern Europe, this portable snack made its way to America in the early 20th century, becoming a staple in Jewish delis and bakeries, especially in New York City. Traditionally, knishes are filled with mashed potatoes, onions, and sometimes ground beef, kasha (buckwheat), or cheese. The dough can be flaky or soft, baked or fried, and every family seems to have their own secret recipe passed down through generations.
But what makes knishes so special isn’t just their taste; it’s the versatility and the ability to carry a piece of heritage in every bite. Whether you’re a fan of savory snacks or have a sweet tooth, there’s a knish out there for you.
Why Make Your Own Knish?
Embarking on the journey of making your own knishes is not just about the end product; it’s about the experience, the customization, and the joy of sharing. Here’s why rolling up your sleeves and getting your hands doughy is worth every minute.
The Joy of Homemade Food
Crafting from Scratch
- Embrace the Process: There’s something inherently satisfying about mixing, kneading, and shaping your food with your own hands. It connects you to the craft of cooking and brings a sense of accomplishment.
Taste the Difference
- Flavorful Rewards: Homemade knishes have a freshness and richness that store-bought ones can’t match. Every bite rewards your effort with superior taste.
Customizing Your Fillings
Tailor to Your Palate
- Choose Your Favorites: When you make knishes at home, you control what goes inside. From traditional potato and onion to creative combinations like spinach and feta, the filling options are limitless.
Dietary Accommodations
- Meet Your Needs: Catering to dietary restrictions or preferences is a breeze when you’re in charge. Gluten-free, vegan, or allergy-friendly—your knishes can be as inclusive as you need them to be.
Sharing with Family and Friends
Cooking Together
- Bond Over Dough: Making knishes can be a communal activity. Invite friends or family into the kitchen and turn cooking into an opportunity for connection and fun.
The Gift of Food
- Spread the Love: Homemade knishes make thoughtful gifts. Wrapped up with a bow or served on a plate, they’re a heartwarming way to show you care.
Ingredients Breakdown
Making knish at home starts with understanding the ingredients. This section will guide you through everything you need for your dough and fillings, including a few tips on substitutions for those with dietary restrictions. Let’s get our hands floury!
Dough Ingredients
Flour
- All-Purpose Flour: The backbone of our dough. It gives the knish structure and a tender bite. For a healthier twist, mix in some whole wheat flour.
Water
- Lukewarm Water: Activates yeast and binds the flour. Make sure it’s not too hot to avoid killing the yeast.
Yeast
- Instant Yeast: Helps the dough rise, making it light and fluffy. If you only have active dry yeast, dissolve it in the lukewarm water first.
Sugar
- Granulated Sugar: A pinch will not only sweeten the dough slightly but also feed the yeast for a better rise.
Oil
- Vegetable Oil: Adds moisture and tenderness to the dough. Feel free to use olive oil for a hint of flavor.
Salt
- Kosher Salt: Balances the flavors. Don’t skip it, or your dough will taste flat.
Filling Ingredients
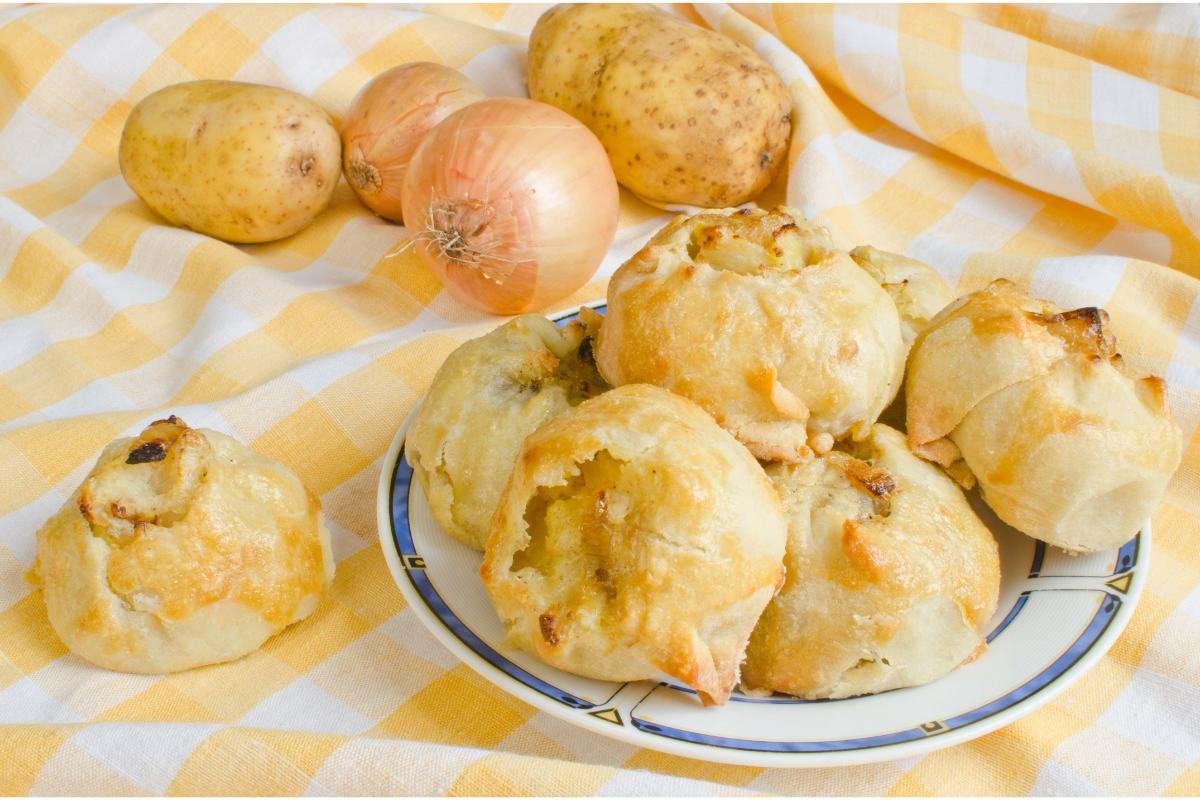
Potatoes
- Russet Potatoes: The classic choice for a creamy and fluffy filling. Sweet potatoes make a delicious alternative.
Onions
- Yellow Onions: Sautéed until golden, they add a sweet depth to the filling. For a sharper taste, try using red onions.
Cheese (Optional)
- Cheddar or Cottage Cheese: Introduces a creamy texture and tangy flavor. Perfect for cheese lovers looking to add a twist.
Seasonings
- Salt, Pepper, and Garlic Powder: Essential seasonings that enhance the natural flavors of the filling. Adjust according to taste.
Dietary Substitutions
Gluten-Free
- Gluten-Free All-Purpose Flour: A simple swap for traditional flour. Look for a blend that’s designed for yeast doughs.
Vegan
- Plant-Based Cheese and Butter: Easily replace dairy components without losing flavor. Check labels for hidden animal products.
Allergen-Free
- Nut and Soy-Free Options: For oil, sunflower is a great alternative. Ensure all your ingredients are certified allergen-free if necessary.
Step-by-Step Guide to Making Potato Knishes
Preparing the Dough
Mixing the Ingredients
- Start with the Basics: In a large mixing bowl, combine your flour, sugar, and salt. Stir in the instant yeast, ensuring it’s evenly distributed.
- Add Liquids: Pour in the lukewarm water and vegetable oil. Mix with a wooden spoon until a shaggy dough forms.
Kneading the Dough
- Get Hands-On: Transfer the dough to a floured surface. Knead for about 10 minutes, or until smooth and elastic. Feel the dough become softer under your hands—a sign you’re on the right track.
- Let It Rise: Place the dough in a greased bowl, cover with a damp towel, and set aside in a warm spot. Wait for it to double in size, about 1-2 hours, showing that the yeast is doing its magic.
Making the Potato Filling
Cooking the Potatoes
- Boil the Potatoes: Peel and chop your russet potatoes. Boil them in salted water until tender, about 15-20 minutes. This soft texture will be perfect for mashing.
- Mash and Season: Drain the potatoes and mash them in a bowl. Add salt, pepper, and garlic powder to taste. Remember, this is your filling, so make it flavorful!
Sautéing the Onions
- Brown the Onions: In a skillet, heat a splash of oil over medium heat. Add finely chopped onions, cooking until they’re golden brown and aromatic. This step adds a rich layer of flavor to your filling.
Combine
- Mix Together: Fold the sautéed onions into the mashed potatoes. If you’re feeling adventurous, now’s the time to stir in some cheddar or cottage cheese for a creamy twist.
Assembling the Knishes
Roll Out the Dough
- Shape Your Base: On a lightly floured surface, roll the dough into a large rectangle. Aim for about 1/4 inch thickness. The thinner the dough, the crispier your knish crust.
Add the Filling
- Spoon It On: Spread the potato filling evenly over the dough, leaving a small border around the edges. Be generous but not overly so—too much filling can lead to bursting knishes.
Shape the Knishes
- Roll and Slice: Starting from one long side, roll the dough tightly around the filling. Slice the log into 2-inch sections. Pinch the ends of each section to seal the filling inside.
Cooking Methods: Baking vs. Frying
Baking
- Preheat and Prepare: Heat your oven to 375°F (190°C). Line a baking sheet with parchment paper.
- Bake to Perfection: Arrange knishes on the baking sheet, ensuring they’re not touching. Bake for 25-30 minutes, or until golden brown. The transformation into golden delights is a sight to behold!
Frying (Optional)
- Heat Oil: For those craving a crunchier exterior, heat vegetable oil in a deep skillet over medium heat.
- Fry Until Golden: Carefully place knishes in the hot oil, turning occasionally, until all sides are crispy and browned. This method adds a deliciously crunchy texture that’s hard to resist.
Tips for Beginners
- Patience is Key: Allow the dough to rise fully for the best texture.
- Flavor to Taste: Don’t be shy with seasonings in your filling. Taste as you go to ensure the perfect balance.
- Seal Well: Make sure the ends of your knishes are well-sealed to keep the filling from escaping during baking.
Additional Filling Ideas
Exploring different fillings can transform your knish experience, offering a range of flavors to suit any preference. Here, we delve into meaty delights and sweet treats.
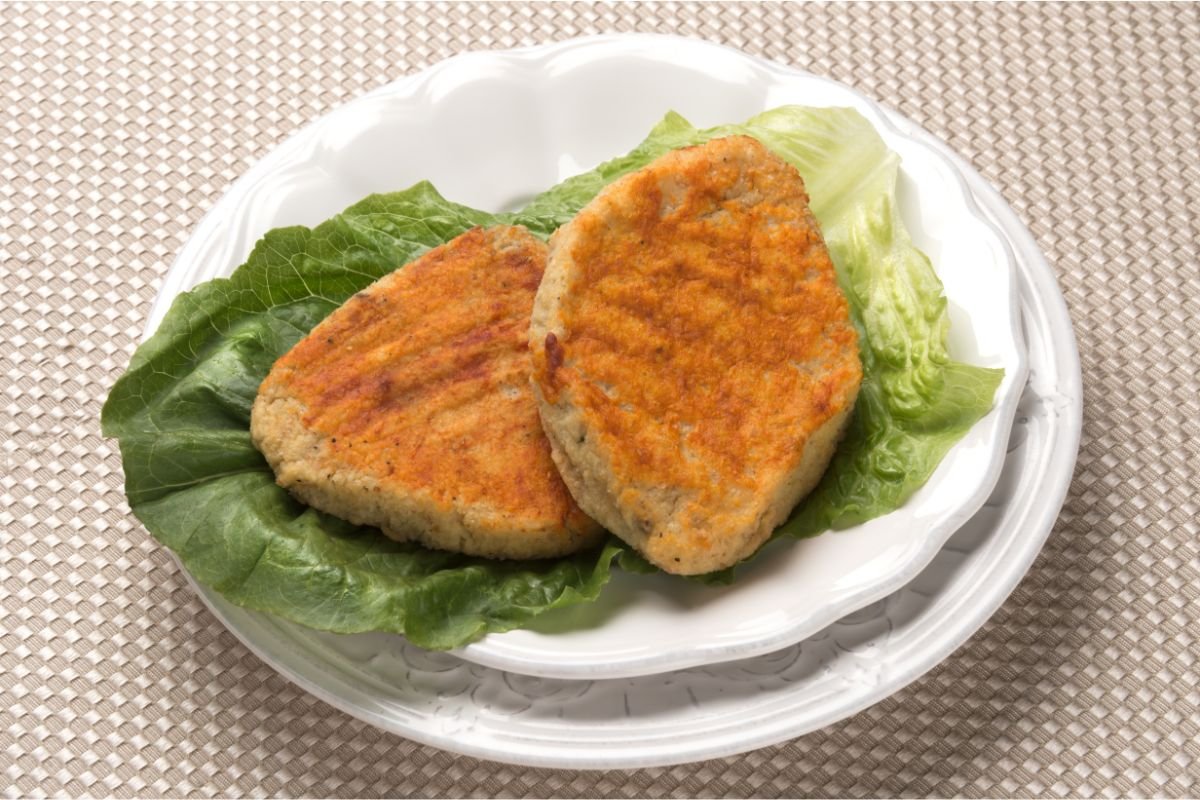
Meat Filling Recipe and Preparation
Ground Beef Filling
- Cook the Beef: In a skillet over medium heat, brown 1 pound of ground beef, breaking it into small pieces as it cooks. Drain any excess fat.
- Add Flavors: To the skillet, incorporate 1 finely chopped onion, 2 minced garlic cloves, 1 teaspoon of paprika, salt, and pepper to taste. Cook until the onions are soft and the mixture is well-seasoned.
- Cool Before Filling: Let the beef mixture cool slightly before using it as a filling. This prevents the dough from becoming soggy.
Tips for a Perfect Meat Knish
- Drain Well: Ensure the meat is well-drained to avoid a wet filling that can tear the dough.
- Season Generously: Meat fillings benefit from bold seasoning. Don’t hesitate to adjust spices to your taste.
Sweet Knish Filling Ideas
Cheese and Fruit Filling
- Mix the Cheese: In a bowl, combine 1 cup of ricotta cheese, ½ cup of sugar, and 1 beaten egg until smooth. You can also add a dash of vanilla extract for extra flavor.
- Choose Your Fruit: Select your favorite fruit (apples, cherries, or berries work great). If using apples or another firm fruit, dice and sauté them lightly with a bit of sugar and cinnamon until soft.
- Combine and Fill: Stir the fruit into the cheese mixture. Use this as your filling, following the same assembly instructions as for potato knishes.
Chocolate Filling
- Create Chocolate Mixture: Melt 1 cup of chocolate chips with ¼ cup of milk or cream and 1 tablespoon of butter in a saucepan over low heat. Stir until smooth.
- Cool Slightly: Let the chocolate mixture cool until it thickens slightly but is still spreadable.
- Fill and Bake: Spread a thin layer of the chocolate filling over the rolled-out dough, roll, slice, and bake as directed.
Tips for Sweet Knishes
- Watch the Sugar: Adjust the sugar level based on the sweetness of your fruit and personal preference.
- Let Filling Cool: Especially with the chocolate filling, letting it cool to the right consistency will prevent it from running out during baking.
Serving and Presentation
The final step in our knish journey is all about bringing your creations to the table in style. Here’s how to serve your knishes in a way that complements their taste and makes them irresistible at any gathering.
Traditional and Creative Serving Suggestions
Go Traditional
- On a Platter: Arrange your knishes beautifully on a large platter. Garnish with fresh herbs or a sprinkle of sesame seeds for an extra touch of elegance.
- With Mustard: Serving knishes with a side of mustard is a classic. Offer a selection of mustards, from spicy to sweet, for dipping.
Get Creative
- Mini Knish Bites: Make your knishes smaller for bite-sized treats, perfect for parties. Serve on skewers or toothpicks for easy enjoyment.
- Knish Sliders: Slice your knishes in half and fill them with a slice of pastrami or corned beef for a delicious twist on the traditional slider.
Pairing with Dips and Sides
Dips
- Sour Cream and Chive: Mix sour cream with finely chopped chives for a refreshing dip.
- Apple Sauce: Sweet knishes pair wonderfully with apple sauce, offering a delightful contrast of flavors.
Sides
- Coleslaw: A tangy, crunchy coleslaw complements the softness of knishes, adding texture and freshness.
- Pickles: The acidity and crunch of pickles cut through the richness of meat-filled knishes, balancing the flavors.
Tips for Reheating and Storage
Reheating
- Oven is Best: Reheat knishes in a preheated oven at 350°F for about 10 minutes or until warm. This method helps maintain their crispness.
- Avoid the Microwave: Microwaving can make the dough soggy. If you must use a microwave, wrap the knish in a paper towel to absorb moisture.
Storage
- Refrigerate: Cool knishes completely before storing them in an airtight container in the refrigerator for up to 5 days.
- Freeze for Later: Wrap each knish individually in plastic wrap, then place in a freezer bag. They can be frozen for up to 3 months. Thaw overnight in the refrigerator before reheating.
Frequently Asked Questions
Knish-making, like any culinary adventure, comes with its set of questions. Here, we tackle the most common ones with straightforward answers and tips.
Can I Use Store-Bought Dough?
Yes, You Can
- Opt for Puff Pastry or Pie Crust: If making dough from scratch isn’t your thing, these alternatives work wonderfully. They offer convenience and a flaky texture.
- Adjust Cooking Times: Keep an eye on your knishes as store-bought doughs may bake differently. Start checking for doneness a few minutes earlier than the recipe suggests.
How Do I Prevent My Knishes from Bursting Open While Baking?
Seal and Score
- Seal Tightly: Ensure the edges of your knishes are well-sealed. Pinch the dough firmly together to keep the filling inside.
- Score the Tops: Make a few shallow cuts on the top of each knish. This allows steam to escape, preventing them from bursting.
Why Is My Dough Not Rising?
Check Your Yeast
- Yeast Freshness: Ensure your yeast is not expired. Old yeast loses its potency, leading to flat dough.
- Water Temperature: If the water is too hot, it can kill the yeast. Too cold, and it won’t activate. Aim for lukewarm, around 110°F.
Can I Make Knishes Ahead of Time?
Absolutely
- Prepare in Advance: Assemble your knishes and store them unbaked in the refrigerator for up to 2 days. When ready, bake as directed.
- Freeze for Later: Freeze assembled, unbaked knishes on a baking sheet. Once solid, transfer to a freezer bag. Bake from frozen, adding a few extra minutes to the cooking time.
What’s the Best Way to Serve Knishes?
Hot and Versatile
- Serve Warm: Knishes are best enjoyed warm, enhancing their flavors and textures.
- Accompaniments: Pair with your favorite dips, or keep it simple with a dollop of mustard. Knishes are versatile and can be a snack, appetizer, or part of the main meal.
My Knishes Are Too Dry, What Can I Do?
Moisture Is Key
- Don’t Overcook: Keep an eye on the baking time. Overcooked knishes can dry out.
- Check the Filling: Ensure your filling isn’t too dry before assembling. Adding a bit more oil or butter can help.
Conclusion
As we wrap up our comprehensive guide to making knishes, it’s clear that this humble pastry carries with it not just the flavors of its filling but a rich cultural history and the warmth of shared culinary traditions. From mastering the dough to experimenting with an array of fillings, both savory and sweet, knish-making is a journey worth embarking on. It invites you to get creative in the kitchen, to share your creations with loved ones, and to enjoy the simple pleasure of a handmade treat.
Conclusion
Knishes, with their golden crust and hearty fillings, are a testament to the beauty of simple ingredients coming together to create something deliciously satisfying. Whether you’re a seasoned cook or a beginner eager to try your hand at something new, knishes offer a canvas for culinary creativity and a bridge to cultural heritage.
Through this guide, we’ve navigated the steps of making knishes from scratch, tackling common questions, and exploring variations to suit every taste. Remember, the best part about cooking is making it your own—so don’t be afraid to experiment with flavors, play with ingredients, and most importantly, have fun with the process.
For those who’ve caught the cooking bug and are hungry for more culinary adventures, I invite you to explore my website, RecipesZap, where you’ll find an array of recipes designed to inspire and delight. From international cuisines to classic comfort foods, there’s something for every palate.
Knish-making is more than just preparing a meal; it’s about crafting a piece of history, sharing stories, and creating memories that last. So, roll up your sleeves, get your hands doughy, and let the warmth of homemade knishes fill your kitchen and your heart.
Thank you for joining me on this delicious journey. Happy cooking, and see you at RecipesZap for your next culinary adventure!