
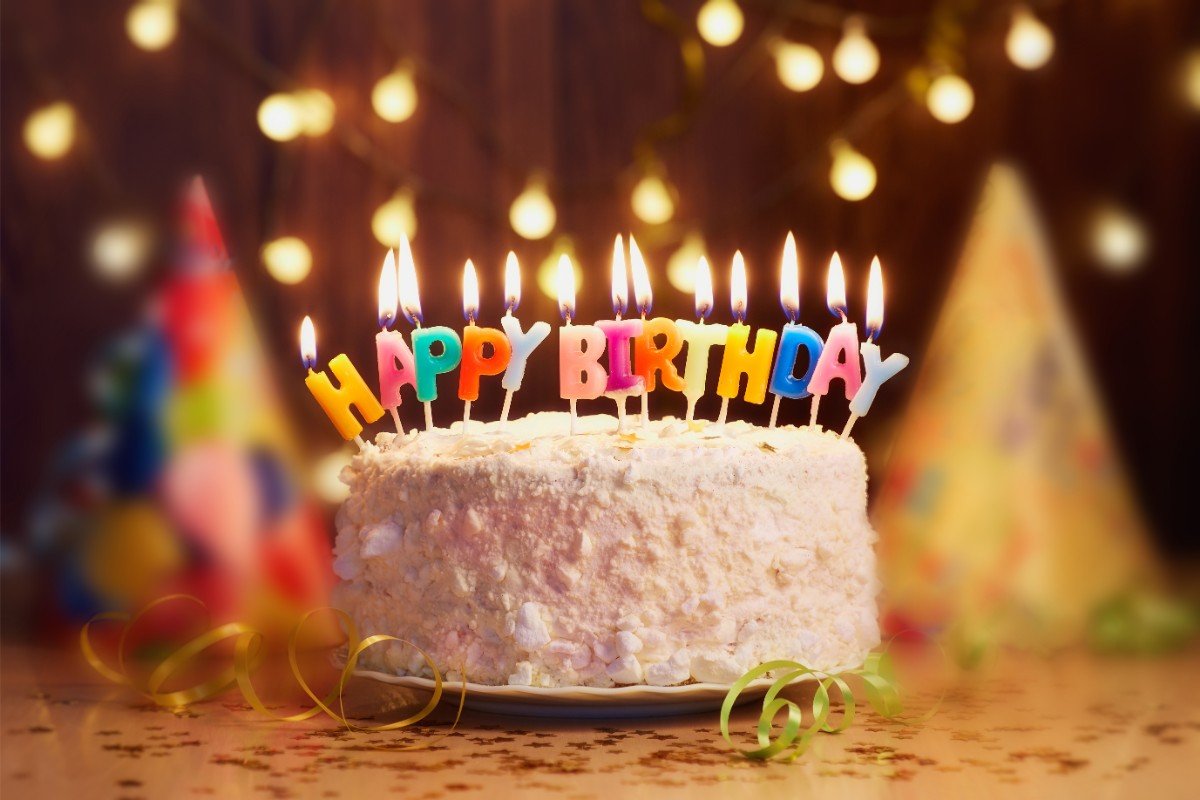
Baking a birthday cake at home for girls adds a personal touch to the celebration that store-bought cakes simply can’t match. This guide is specifically designed for beginners, providing step-by-step instructions to make easy and delightful birthday cakes for girls, ensuring a memorable celebration.
Planning Your Cake
Choosing a Theme: The first step in planning your birthday cake is deciding on a theme. This could be anything from a princess castle, a magical unicorn, to a fairy tale garden. The theme will guide your decisions on the cake’s design, colors, and decorations. Consider the birthday girl’s interests and favorite colors when choosing a theme to ensure the cake resonates with her.
Selecting the Right Recipe: For those with minimal baking experience, simplicity is key. Opt for basic recipes such as vanilla or chocolate cake, which are not only universally loved but also serve as a great canvas for decorations. Online recipes specifically designed for beginners can be invaluable, offering clear instructions and requiring basic ingredients.
Gathering Ingredients and Tools: Before you start baking, make sure you have all the necessary ingredients and tools. Essential ingredients typically include flour, sugar, eggs, butter, and baking powder for the cake, along with icing sugar, food coloring, and flavorings for the frosting. Tools you’ll need are mixing bowls, a mixer (hand or stand), baking pans, a spatula, and decoration tools like piping bags and nozzles. A trip to the grocery store and possibly a kitchen supply shop will ensure you’re well-prepared.
Transitioning smoothly from the planning phase to the actual baking, it’s important to approach each step with patience and attention to detail. Let’s dive into the basics of cake baking techniques that will form the foundation of your birthday cake.
Basic Cake Baking Techniques
Preparing the Batter: Begin with a simple cake recipe, ensuring to follow each step carefully. Start by preheating your oven to the recipe’s suggested temperature—this is crucial for an even bake. Cream together the butter and sugar until the mixture is light and fluffy, which introduces air into your batter, making the cake tender. Gradually add eggs, one at a time, ensuring each is fully incorporated before adding the next. Sift in your dry ingredients (flour, baking powder, salt) alternately with any liquid ingredients (milk, vanilla extract), starting and ending with the dry ingredients. This method prevents the batter from curdling and helps maintain a smooth consistency.
Baking the Cake: Pour the batter into a greased and lined baking pan, spreading it evenly. The cake should be baked in the center of the oven, where the temperature is most consistent. Keep the oven door closed while the cake is baking to prevent temperature fluctuations that could affect the rise and texture of your cake.
Testing for Doneness: After the recommended baking time, test the cake’s doneness by inserting a skewer or toothpick into the center. If it comes out clean, your cake is ready. If not, give it a few more minutes and test again. Once done, remove the cake from the oven and let it cool in the pan for a few minutes before transferring it to a wire rack to cool completely. This cooling phase is essential for the structure of the cake to settle, preventing it from breaking when cut or decorated.
As we move forward from baking the cake to assembling it, remember that patience and gentle handling are your best tools. The next section will guide you through the steps of transforming your baked cakes into a beautiful layered masterpiece, ready for decoration.
Assembling the Cake
Cooling and Cutting
After your cakes have completely cooled, it’s time to begin the assembly process. First, ensure your cakes are flat on top for easy stacking. If they have domed during baking, you can level them with a serrated knife. Additionally, if you’re aiming for a multi-layer cake, now is the moment to carefully cut your cakes horizontally into layers. Use a steady hand and keep your knife level to ensure uniform thickness for each layer.
Filling and Stacking Layers
Now, let’s move on to the exciting part—filling and stacking your cake layers. Begin by placing the first layer on your cake board or plate. Next, spread an even layer of filling—this could be buttercream, jam, or any preferred filling—on top of the first layer. Then, gently place the second layer on top, pressing lightly to secure it. Repeat this process with any additional layers. It’s crucial to ensure that your layers are aligned and straight to avoid a leaning tower.
Crumb Coating
Before you dive into the final decoration, a crumb coat is essential. This thin layer of frosting seals in any crumbs, creating a smooth surface for your final layer of frosting. To apply a crumb coat, use an offset spatula to cover the cake with a thin layer of frosting, then smooth it out. Once coated, chill the cake in the refrigerator for at least 30 minutes. This step solidifies the crumb coat, preventing crumbs from mixing into the final layer of frosting.
Transitioning to the decoration phase, remember that this is where your cake starts to come alive with personality and theme. Whether you’re aiming for elegant simplicity or elaborate detail, the techniques in the next section will help bring your vision to fruition.
Decorating the Cake
Basic Frosting Techniques
With your cake now assembled and crumb coated, it’s time to apply the final layer of frosting. Using an offset spatula, apply a generous amount of frosting to the top and sides of the cake. Smooth the frosting as much as possible, creating a blank canvas for your decorations. If you’re new to frosting cakes, don’t worry about getting it perfect. Remember, practice makes perfect, and a few imperfections can add character to your homemade cake.
Theme Decoration Tips
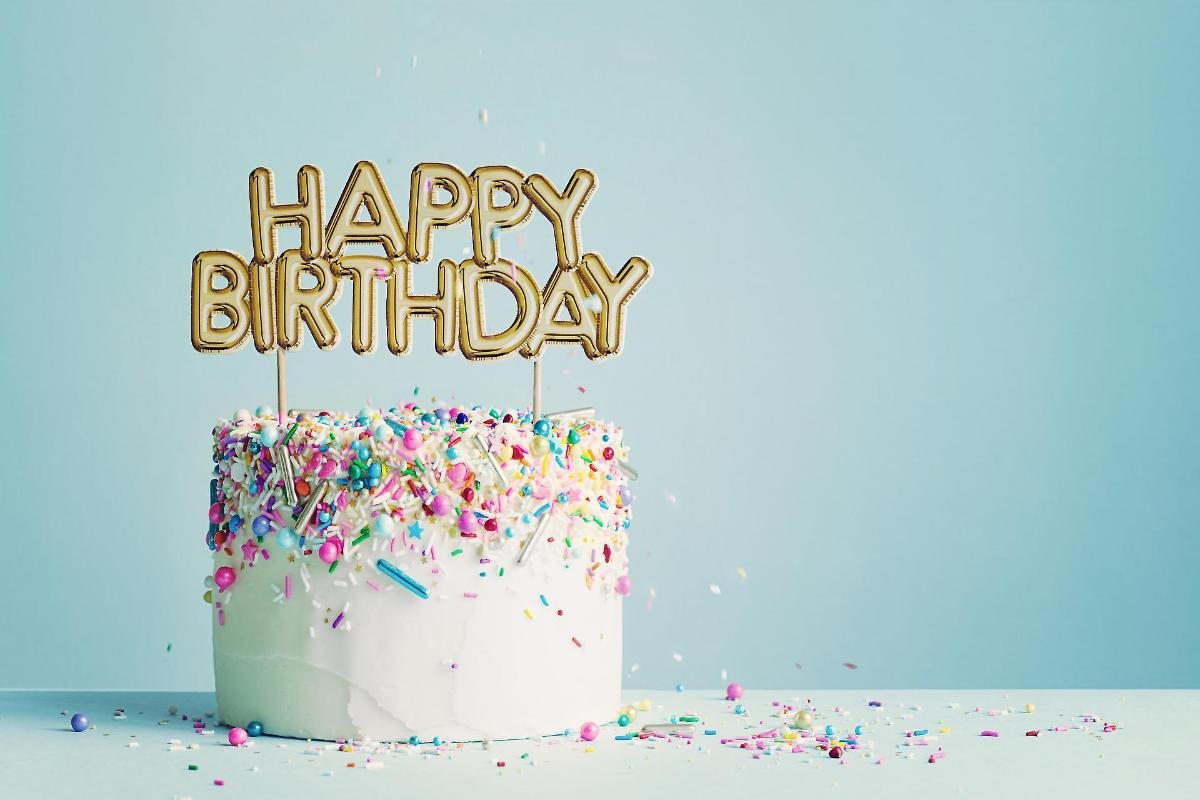
Now, let’s bring your chosen theme to life. For a princess-themed cake, consider using pink and purple frosting, edible glitter, and a tiara topper. For a unicorn cake, pastel colors, a fondant horn, and piped frosting rosettes can create a magical effect. Use fondant cut-outs, edible paint, or themed cake toppers to align with your selected theme. These decorations transform your cake from a simple dessert to a celebration centerpiece.
Adding Personal Touches
Personalizing your cake adds an extra layer of thoughtfulness. Consider adding the birthday girl’s name using fondant letters or piped frosting. Edible flowers, custom cake toppers, or even a hand-drawn design using edible markers can make the cake uniquely hers. These personal touches not only make the cake more special but also reflect the love and effort put into creating it.
Presentation and Preservation
Presenting Your Cake
Finally, presenting your masterpiece is just as important as the baking and decorating process. Choose a cake stand or plate that complements your cake’s theme and size. Before placing the cake on the stand, consider a decorative cake board for an added touch of elegance. If you’re transporting the cake, ensure it’s securely placed on a flat surface to prevent any accidents.
Storing Leftovers
After the celebration, properly storing any leftover cake will keep it fresh for later enjoyment. Cover the cake with plastic wrap or place it in an airtight container, and refrigerate. For longer preservation, you can freeze slices of the cake, wrapped individually in plastic wrap and then in foil.
Conclusion
Embarking on the journey of baking and decorating a birthday cake at home can be a rewarding experience. It allows you to pour your love and creativity into creating something truly special for the birthday girl. Remember, each cake you bake is an opportunity to learn and grow your skills. So, don’t be afraid to experiment and embrace any imperfections along the way.
For more delicious recipes and baking tips, don’t forget to visit RECIPES ZAP. Your next baking adventure awaits!
For further inspiration and tips on baking birthday cakes for girls, I encourage you to explore King Arthur Baking Company’s website. Their vast collection of recipes and decorating ideas is a fantastic resource for bakers at any skill level.
By incorporating more transition words and phrases, we’ve aimed to create a seamless and engaging guide that encourages readers to embark on their cake-baking journey. Remember, the goal is to enjoy the process, create lasting memories, and, of course, make a delicious cake that brings joy to the birthday girl’s special day.