
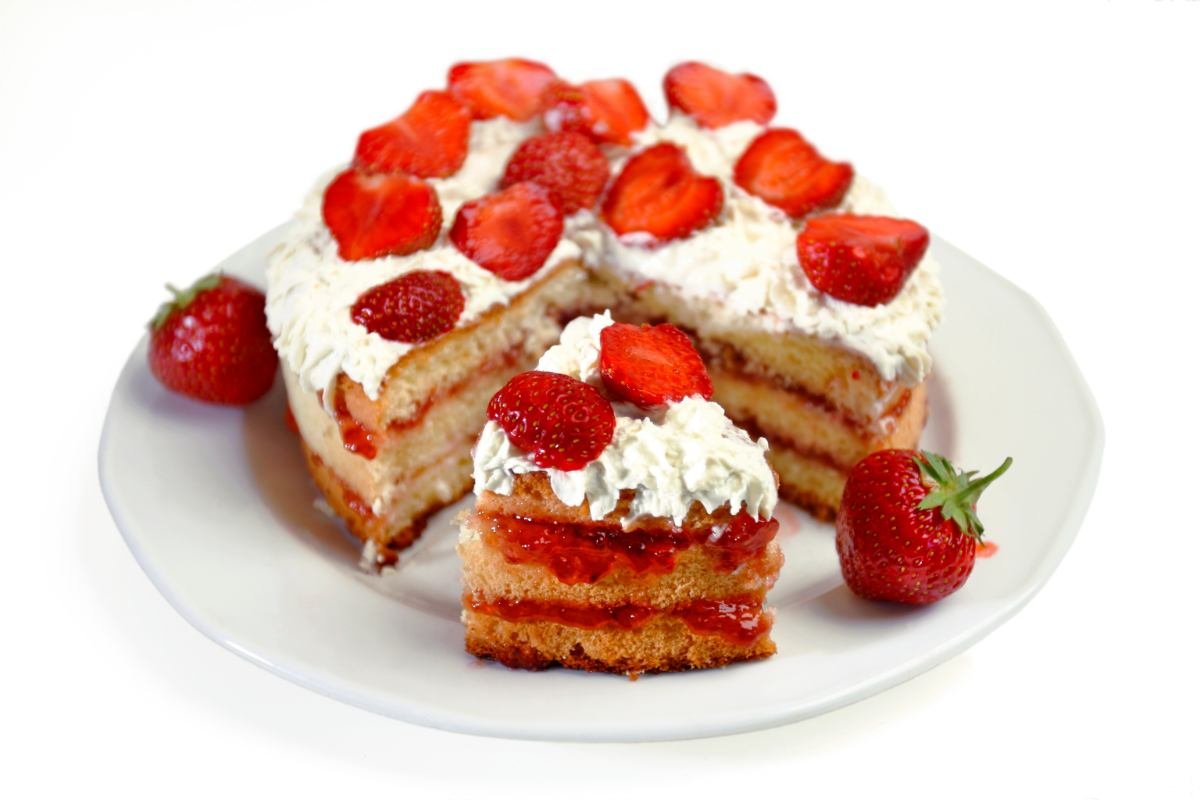
Introduction to Homemade Strawberry Cake Filling
The allure of a perfectly ripe strawberry, with its vibrant red color, sweet aroma, and juicy texture, has captivated hearts and taste buds for generations. It’s no wonder that strawberry cake filling, with its rich and tantalizing flavor, holds a special place in the world of desserts. This blog post delves into the art of making homemade strawberry cake filling, a delightful concoction that elevates any cake from good to unforgettable.
The history of incorporating strawberries into baking traces back to ancient times when these berries were prized for their sweetness and rarity. Over the centuries, the method of transforming strawberries into a luscious cake filling has evolved, from simple mashes to sophisticated, flavor-packed creations. Homemade strawberry filling, with its depth of flavor and natural sweetness, stands in stark contrast to the often overly sweetened and artificial-tasting store-bought versions. Making your own filling not only allows for a customization that caters to personal taste preferences but also imbues your baked goods with a sense of pride and accomplishment.
Let’s embark on a flavorful journey through the process of making homemade strawberry cake filling, from selecting the juiciest berries to mastering the cooking technique that results in the perfect consistency. Whether you’re a seasoned baker or a novice in the kitchen, this guide will equip you with everything you need to create a mouthwatering strawberry filling that promises to be the star of any dessert.
Why Choose Homemade?
The decision to opt for homemade strawberry cake filling over its store-bought counterpart is multifaceted, touching upon aspects of flavor, health, and personal satisfaction. Homemade fillings boast a freshness and depth of flavor that mass-produced versions struggle to match. By selecting your own ingredients, you control the amount of sugar and the quality of strawberries, resulting in a filling that’s tailor-made to your taste and dietary preferences. Additionally, the process of making your own filling can be a deeply rewarding experience, offering a sense of achievement and the opportunity to infuse your desserts with love and care.
In the next section, we’ll explore the key ingredients required to make a delectable strawberry filling, highlighting the importance of quality and how each component contributes to the final taste and texture.
Ingredients Overview
Creating a heavenly homemade strawberry cake filling begins with selecting the right ingredients. Each component plays a pivotal role in achieving the desired flavor, texture, and appearance. Below, we break down the key ingredients, offering insights into their importance and how to choose the best options for your filling.
Fresh Strawberries: The Star of the Show
- Selection: Opt for ripe, brightly colored strawberries with a fragrant aroma. These characteristics indicate freshness and are crucial for a naturally sweet and vibrant filling. Seasonality matters; strawberries are at their peak during late spring and early summer, offering the best flavor and nutritional value.
- Preparation: Rinse the strawberries gently under cold water and pat them dry. Remove the stems and leaves, and slice the berries. Depending on your preference, you can halve, quarter, or dice them. Smaller pieces will break down more during cooking, resulting in a smoother filling, while larger chunks will add texture.
Granulated Sugar: Sweetness Balancer
- Purpose: Sugar enhances the strawberries’ natural sweetness and helps develop the filling’s thick consistency by drawing out the fruit’s juices.
- Adjustment: The amount of sugar can be adjusted based on the strawberries’ sweetness and your personal preference. Taste your berries before deciding how much sugar to add; less ripe berries may require a bit more sugar to achieve the desired sweetness.
Lemon Juice: The Flavor Enhancer
- Role: A splash of fresh lemon juice can significantly elevate your strawberry filling. It balances the sweetness, adds brightness, and helps preserve the vibrant red color of the strawberries.
- Tip: Use fresh lemon juice rather than bottled for the best flavor. The acidity level can also affect the filling’s set, as it interacts with the pectin in strawberries to help thicken the mixture.
Cornstarch: The Thickening Agent
- Function: Cornstarch is crucial for achieving the perfect consistency. It acts as a thickener, transforming the strawberries and their juices into a luscious filling that’s stable enough to layer between cake tiers without seeping out.
- Method: Mix cornstarch with a small amount of water to create a slurry before adding it to the cooking strawberries. This prevents clumping and ensures a smooth texture in your filling.
Optional Enhancements: Customizing Your Filling
- Vanilla Extract: A teaspoon of vanilla extract can add depth and warmth to the filling, complementing the strawberries’ flavor without overpowering it.
- Zest: Adding a bit of lemon or orange zest introduces an aromatic citrus note that pairs beautifully with strawberries.
- Other Berries: Consider mixing strawberries with raspberries, blueberries, or blackberries for a multi-berry filling. Each berry adds its unique flavor and complexity to the filling.
By carefully selecting and preparing these ingredients, you set the stage for a strawberry cake filling that’s bursting with flavor, perfectly sweetened, and beautifully textured. Whether spread between layers of sponge cake or dolloped on top of cupcakes, this filling will surely elevate any dessert. In the following section, we’ll guide you through the step-by-step process of cooking your strawberry filling to perfection, ensuring a delectable result that’s sure to impress.
Step-by-Step Guide to Making Homemade Strawberry Filling
Crafting the perfect homemade strawberry cake filling is an art that combines simplicity with a touch of culinary finesse. Follow this detailed guide, and you’ll transform fresh strawberries and a few select ingredients into a luscious, glossy filling that’s the perfect addition to any cake or dessert.
Preparing the Strawberries
- Clean and Slice: Begin by rinsing your strawberries under cool running water to remove any dirt or debris. Pat them dry with a clean towel. Hull the strawberries by removing the green leafy tops and any tough white core. Slice the strawberries according to your preference; smaller pieces will meld into a smoother filling, while larger chunks provide a more rustic texture.
- Macerate: In a large bowl, sprinkle the sliced strawberries with a portion of the sugar specified in your recipe. Toss gently to coat. This process, known as maceration, draws out the strawberries’ natural juices, enhancing the flavor of your filling. Allow the strawberries to sit for about 20-30 minutes, or until they’ve released a significant amount of juice.
Cooking the Filling
- Combine Ingredients: Transfer the macerated strawberries and their juices to a medium-sized saucepan. Stir in the remaining sugar, fresh lemon juice, and, if using, vanilla extract or zest for added flavor. Heat the mixture over medium heat, stirring occasionally.
- Thicken with Cornstarch: While the strawberries begin to warm, mix cornstarch with a small amount of water in a separate bowl to create a slurry. Once the strawberry mixture comes to a simmer, gradually add the cornstarch slurry, stirring constantly. The filling will start to thicken almost immediately.
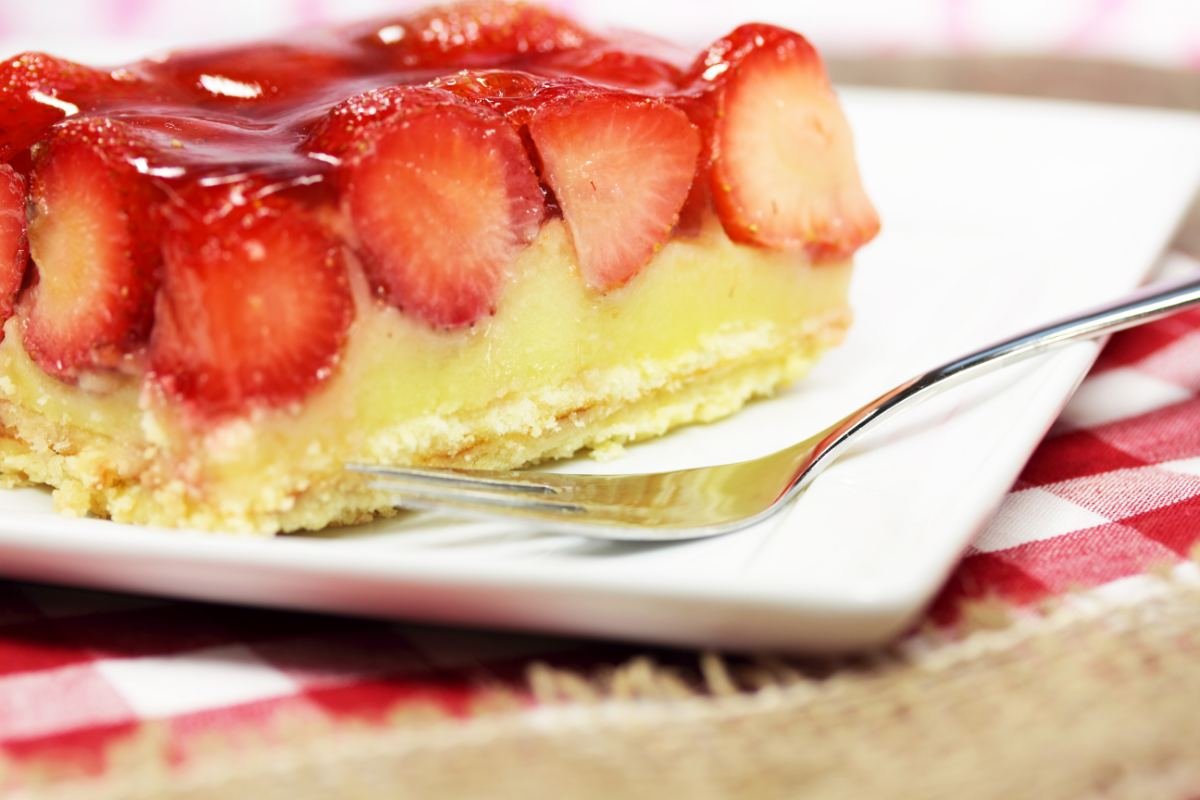
- Simmer to Perfection: Continue to cook the mixture on low heat, stirring frequently to prevent sticking and burning. After about 5-10 minutes, the filling should have thickened to a glossy, jam-like consistency that coats the back of a spoon. If you desire a smoother filling, you can gently mash the strawberries with a potato masher or use an immersion blender for a brief pulse.
Cooling and Storage
- Cool Before Using: Once the filling has reached the desired thickness, remove it from the heat. Transfer it to a heat-proof bowl and let it cool to room temperature. Stirring the filling occasionally as it cools can help prevent a skin from forming on the surface.
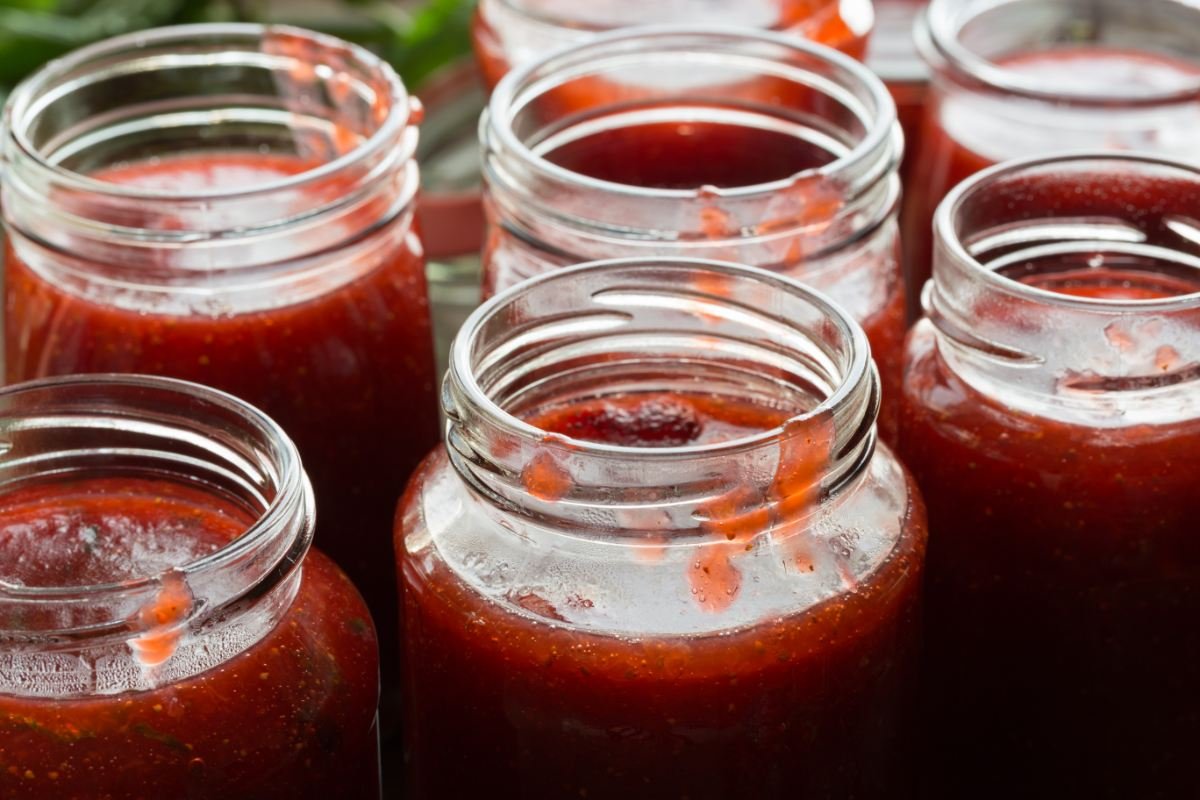
- Refrigerate for Later Use: If not using the strawberry filling immediately, cover the bowl with plastic wrap, pressing the wrap directly onto the surface of the filling to further prevent skin formation. Refrigerate the filling for up to 5 days. When ready to use, give the filling a good stir to ensure it’s evenly mixed and smooth.
Final Touches and Tips
- Adjust Consistency if Needed: Before assembling your cake or dessert, check the consistency of the filling. If it’s too thick, gently warm it on the stove with a bit of water or strawberry juice to thin it out. If it’s too runny, a little more cornstarch slurry can help thicken it up. Remember, the filling will firm up slightly when chilled.
- Layering in Cakes: When using the filling in layered cakes, apply a thin layer of buttercream around the edge of each cake layer to create a dam. This prevents the filling from seeping out the sides and ensures clean, sharp layers.
Following these steps will yield a stunning homemade strawberry cake filling that’s bursting with fresh berry flavor and the perfect texture for spreading or layering. It’s an irresistible addition to any dessert that calls for a touch of sweetness and the natural, delightful taste of strawberries.
Variations and Creative Twists
Crafting a homemade strawberry cake filling opens a world of culinary creativity, allowing for personal touches and adaptations to suit every palate and occasion. Here, we explore various ways to add a unique twist to your filling, from incorporating different fruits to experimenting with spices and alternative sweeteners. Embrace these suggestions to customize your strawberry filling, making it a memorable highlight of your desserts.
Integrating Additional Fruits
- Mixed Berry Bliss: Combine strawberries with other berries like raspberries, blueberries, or blackberries for a complex, multi-berry filling. The varying flavors and textures will add depth and interest to your cakes and desserts.
- Peachy Strawberry: For a summery vibe, mix ripe, diced peaches with your strawberries. The peaches add a soft, fragrant sweetness that pairs wonderfully with the bright acidity of strawberries.
- Tropical Twist: Incorporate diced mango or pineapple for a tropical flavor profile. These fruits introduce a vibrant, exotic sweetness that transforms the filling into a summertime delight.
Spicing Things Up
- Cinnamon Warmth: Add a pinch of cinnamon to your strawberry filling for a subtle warmth and spice. It’s particularly cozy in fall and winter desserts.
- Minty Freshness: Stir in finely chopped fresh mint at the end of cooking for a refreshing, cool undertone. This addition is perfect for spring and summer treats.
- Zesty Lemon or Orange: Enhance the citrus notes by adding a teaspoon of lemon or orange zest. It brightens the filling and adds an aromatic citrus flavor that complements the strawberries.
Sweetener Variations
- Honey or Maple Syrup: Replace granulated sugar with honey or maple syrup for a natural sweetness with more depth. These sweeteners bring their unique flavors, adding an additional layer of taste to the filling.
- Stevia or Erythritol: For a sugar-free version, use alternatives like stevia or erythritol. Be mindful of the conversion rates, as these sweeteners can have a different sweetness level compared to sugar.
Vegan and Sugar-Free Alternatives
- Agar-Agar or Pectin: Replace cornstarch with agar-agar (for vegans) or pectin (for a more natural thickener) to achieve the desired consistency without altering dietary preferences.
- Natural Sweeteners: Opt for natural sweeteners like agave syrup or dates puree for vegan-friendly sweetness that also adds a rich flavor profile to the filling.
Additional Flavor Boosters
- Alcohol Infusions: A splash of balsamic vinegar or a fine-quality liqueur (like Grand Marnier or Chambord) can add a sophisticated edge to your strawberry filling. The alcohol cooks off, leaving behind an intriguing hint of complexity.
- Spice Infusions: Infuse the filling with a cinnamon stick, vanilla bean, or star anise during cooking, then remove before cooling. These spices lend a subtle, warm flavor that’s especially welcome in cooler months.
By experimenting with these variations and creative twists, you can tailor your homemade strawberry cake filling to suit any taste or occasion. Whether you’re aiming for a filling that’s traditional or one that’s boldly innovative, the possibilities are endless. These customizations not only allow you to express your culinary creativity but also to adapt the recipe to dietary preferences and seasonal ingredients, ensuring your desserts are always fresh, flavorful, and exciting.