
Introduction
Cookies have charmed their way into the hearts and kitchens around the world, transcending cultures with their simplicity and versatility. The history of cookies dates back to 7th century Persia, one of the first countries to cultivate sugar, heralding the sweet treat’s global journey. Today, from the crunchy edges of a chocolate chip classic to the soft, fragrant crumb of a snickerdoodle, cookies offer a palette of flavors, textures, and memories, much of which begins with the magical process of creating cookie dough.
The allure of cookie dough is universal; it’s not just a precursor to the beloved baked good but a delight in its own right. Many of us can’t resist sneaking a taste of the raw dough, a guilty pleasure that harks back to childhood. This blog aims to guide you through the art and science of making cookie dough, ensuring that whether you’re a seasoned baker or a curious newcomer, you’ll find joy and success in the kitchen. From understanding the critical ingredients and necessary equipment to mastering the dough itself and exploring its variations, we’ll cover everything you need to embark on your cookie-making journey.
Essential Ingredients
Creating the perfect cookie dough starts with understanding your ingredients. Each component plays a crucial role in the texture, flavor, and appearance of your cookies. Let’s dive into the essential ingredients you’ll need and how they affect your dough.
Flour: The Foundation
Flour provides the structure for your cookies. Primarily, recipes call for all-purpose flour, but the type of flour can significantly affect the outcome. Whole wheat flour adds a nutty flavor and denser texture, while cake flour makes for a lighter, softer cookie. For a chewier texture, some bakers mix bread flour into their all-purpose flour due to its higher protein content, which increases gluten formation.
Sugars: Sweetness and Texture
Sugar is not just about sweetness; it also contributes to the texture and color of your cookies. White sugar produces a crispier cookie, as it encourages spreading during baking. Brown sugar, with its molasses content, retains moisture, leading to a softer, chewier cookie with a richer flavor. Experimenting with the ratio of white to brown sugar allows you to customize the texture and taste of your cookies.
Fats: Butter, Margarine, and Shortening
Fats add flavor and create a tender texture in cookies. Butter, with its unparalleled taste, also adds to the cookie’s structure due to its water content, which turns to steam during baking and helps leaven the cookies. Margarine and shortening, while offering less flavor, can make cookies softer and taller as they contain less water. The choice of fat can dramatically change the texture of your cookies, from crispy to cake-like.
Eggs: Binding and Enriching
Eggs bind the ingredients together and add moisture to the dough, contributing to the texture and richness of the cookies. The protein in eggs also provides structure. For variations in moisture and richness, you can adjust the number of eggs or use just yolks or whites, depending on your desired outcome.
Leavening Agents: Rise and Texture
Baking soda and baking powder are the most common leavening agents used in cookie dough. Baking soda, a base, requires an acid to react and create carbon dioxide, which helps cookies spread and become tender. baking powder contains both an acid and a base, producing a rise without the need for additional acidic ingredients, leading to lighter and softer cookies.
Flavorings: The Essence of Taste
Vanilla extract is a classic flavor enhancer, adding depth and warmth to your cookie dough. However, the possibilities are endless: almond extract, citrus zest, spices like cinnamon or nutmeg, and even salt, which balances sweetness and enhances overall flavor. Don’t be afraid to experiment with different combinations to find your perfect blend.
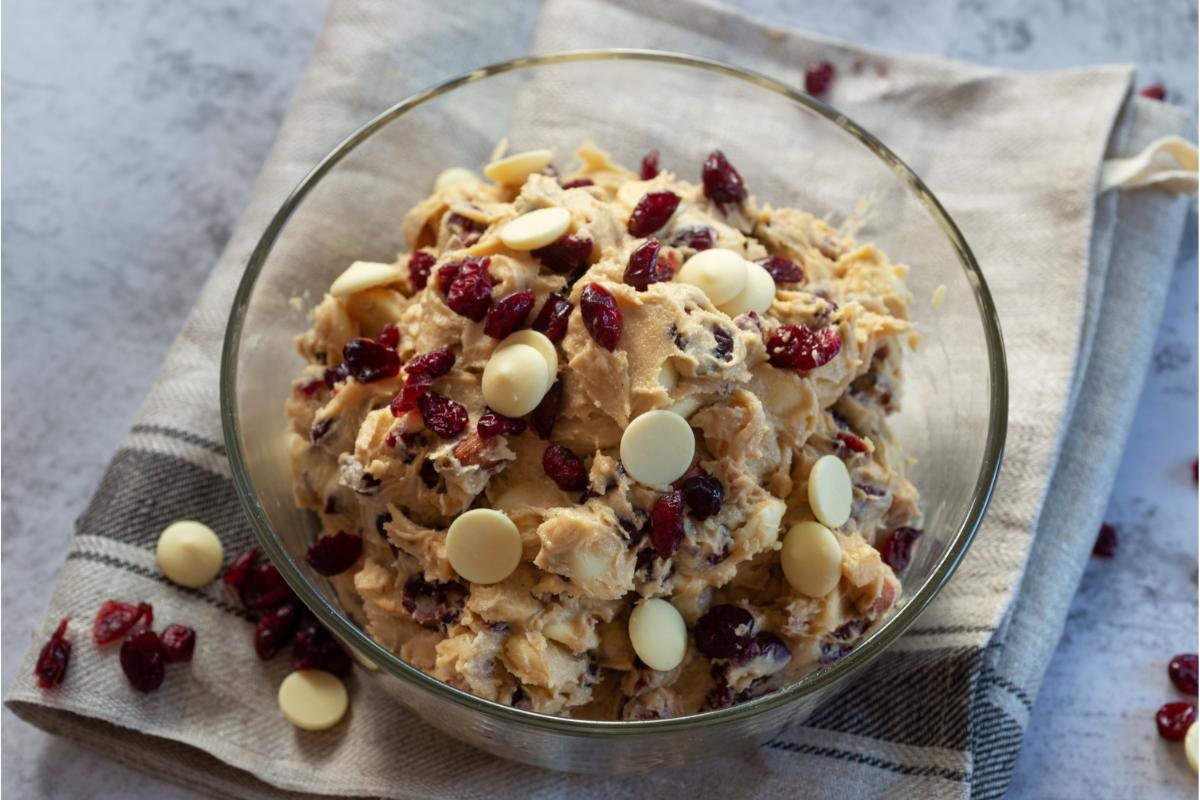
Mix-ins: Personality and Texture
Finally, mix-ins like chocolate chips, nuts, dried fruits, or candy pieces add texture and character to your cookies. These elements not only introduce new flavors and textures but also make each cookie unique. Be creative and mix and match your favorite ingredients to customize your cookie dough.
Equipment Needed
Crafting the perfect batch of cookie dough is more enjoyable and efficient when you have the right tools at your disposal. While you don’t need a kitchen full of professional baking gadgets, a few key pieces of equipment can make all the difference. Let’s break down the essential tools that will help you mix, measure, and bake with precision and ease.
Mixing Bowls: The Starting Point
Begin with a set of sturdy mixing bowls. Having a range of sizes is beneficial, as you’ll often need separate bowls for combining dry and wet ingredients before mixing them together. Opt for bowls that are wide enough to give you ample room for stirring and folding without making a mess.
Measuring Cups and Spoons: Precision is Key
Accurate measurements are crucial in baking to achieve consistent results. Invest in a set of measuring cups and spoons for dry ingredients, and consider a liquid measuring cup for wet ingredients. The clear markings and specific sizes will ensure that you’re adding just the right amount of each ingredient to your dough.
Mixer: The Powerhouse
A good mixer, whether stand or hand-held, is a game-changer for cookie dough. It ensures that your butter and sugar are perfectly creamed and that your dough is evenly mixed without overworking it. While you can mix by hand, a mixer saves time and effort, especially for thick, stiff doughs.
Baking Sheets and Parchment Paper: Ready, Set, Bake!
Heavy-duty baking sheets are essential for evenly baked cookies. Pair them with parchment paper or silicone baking mats to prevent sticking and ensure easy cleanup. These surfaces also help with even heat distribution, reducing the chances of burnt bottoms or unevenly cooked cookies.
Other Useful Tools
- Spatulas and Wooden Spoons: For folding in flour and mix-ins, nothing beats a sturdy spatula or a good old-fashioned wooden spoon. They allow you to mix thoroughly without overworking the dough.
- Cookie Scoops: For uniform cookies, a scoop is incredibly useful. It ensures consistent size, which means even baking and professional-looking results.
- Wire Racks: Cooling your cookies properly is just as important as baking them. Wire racks allow air to circulate around the cookies, cooling them quickly and preventing soggy bottoms.
- Whisk: A whisk is essential for combining your dry ingredients. This helps to evenly distribute leavening agents through the flour, ensuring a uniform texture in your cookies.
Step-by-Step Guide to Making Cookie Dough

Now that we’ve covered the essential ingredients and equipment, let’s dive into the heart of cookie making: preparing the dough. This step-by-step guide will walk you through the process of creating the perfect cookie dough, focusing on technique and timing to ensure success.
Creaming Butter and Sugar
- Start with Softened Butter: Ensure your butter is at room temperature to facilitate easy creaming. Cold butter won’t blend well, and melted butter will lead to greasy dough.
- Combine Butter and Sugars: Using your mixer, beat the butter with white and brown sugar until the mixture is light and fluffy. This process incorporates air into the dough, contributing to a lighter texture.
Incorporating Eggs and Vanilla
- Add Eggs One at a Time: Crack the eggs into a separate bowl (to avoid shells in the dough), then add them one at a time to the butter-sugar mixture, mixing well after each addition. This ensures even distribution.
- Mix in Vanilla Extract: Add vanilla extract for flavor. Blend until just combined, ensuring not to overmix and deflate the dough.
Mixing Dry Ingredients
- Whisk Together Dry Ingredients: In a separate bowl, whisk together the flour, baking soda or powder, and salt. This disperses the leavening agent and prevents clumping.
- Gradually Add to Wet Ingredients: Slowly incorporate the dry ingredients into the wet mixture, mixing on low speed or by hand with a spatula. Mix just until the flour is no longer visible to avoid overdeveloping the gluten.
Folding in Mix-ins
- Choose Your Mix-ins: Whether it’s chocolate chips, nuts, or dried fruit, select your add-ins and measure them out.
- Fold Gently Into the Dough: Using a spatula, gently fold the mix-ins into the dough. Be careful not to overmix, as this can toughen the dough and crush the add-ins.
Chilling the Dough
- Wrap and Chill (If Necessary): Some recipes benefit from chilling the dough before baking, as it helps to prevent spreading and intensifies flavors. Wrap the dough in plastic wrap and refrigerate for at least 30 minutes or as directed by your recipe.
- Portion and Prepare for Baking: Once chilled, use a cookie scoop or spoon to portion the dough onto your prepared baking sheets, leaving ample space between each dough ball for spreading.
Variations of Cookie Dough
One of the joys of making cookie dough is the endless variety of flavors and textures you can achieve with a few tweaks to the basic recipe. Whether you’re in the mood for something classic or adventurous, these variations will inspire you to explore the wide world of cookies.
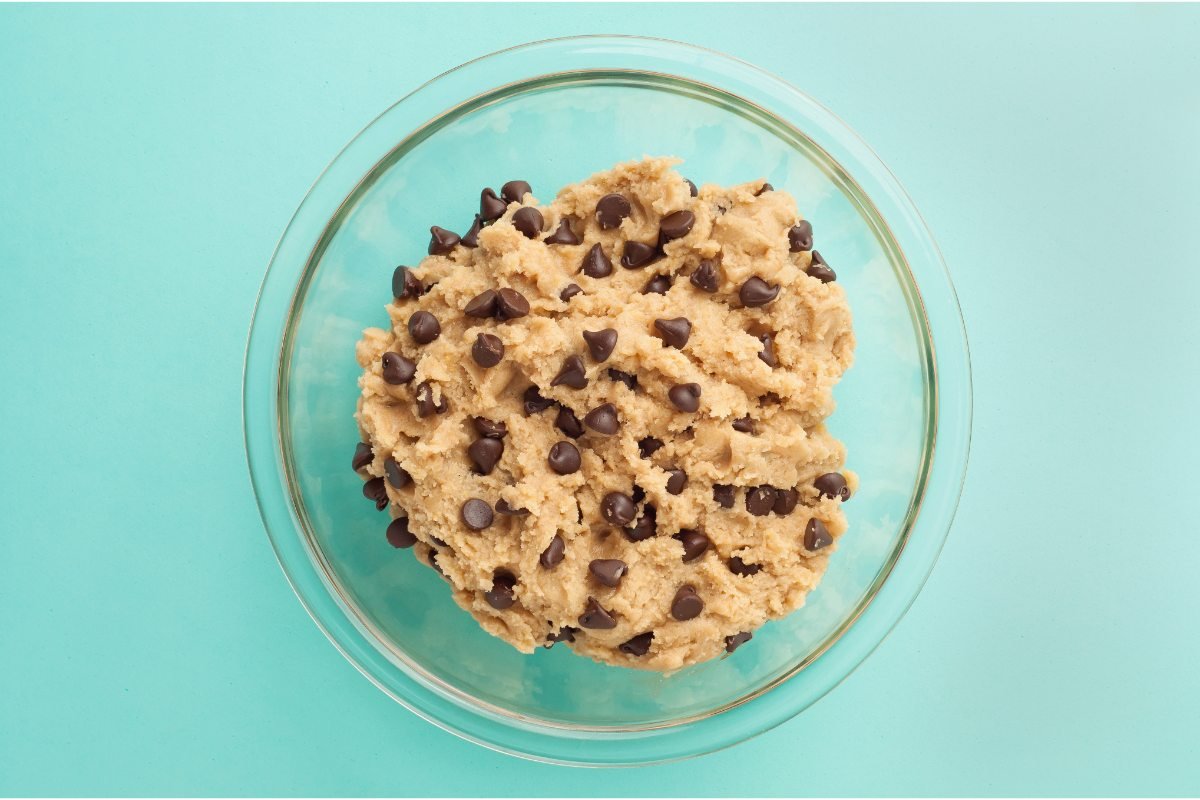
Chocolate Chip Cookie Dough
- The Classic Favorite: Start with the basic dough, adding semi-sweet chocolate chips for that timeless chocolate chip cookie. For a richer flavor, substitute some of the white sugar with additional brown sugar.
- Variation Tips: Mix in different types of chocolate (dark, milk, or white) or add a combination. For added depth, a teaspoon of instant coffee granules dissolved in the vanilla extract can enhance the chocolate flavor.
Sugar Cookies
- Sweet and Simple: For sugar cookies, increase the amount of white sugar in the dough and add a bit more vanilla extract. This dough rolls out smoothly for cut-out cookies.
- Variation Tips: After rolling and cutting, sprinkle with colored sugar or decorative sprinkles before baking. For a lemon twist, add lemon zest to the dough.
Peanut Butter Cookies
- Rich and Nutty: Substitute a portion of the butter with creamy or crunchy peanut butter for a dense, moist texture and deep peanut flavor. Reduce the amount of flour slightly to compensate for the added thickness.
- Variation Tips: Press a chocolate kiss into the center of each cookie immediately after baking for a delightful peanut butter and chocolate combo.
Oatmeal Raisin
- Hearty and Textured: Reduce the flour and add rolled oats for a chewy texture. Incorporate raisins (or dried cranberries) and a touch of cinnamon for a comforting, spiced flavor.
- Variation Tips: For a more indulgent cookie, mix in a handful of chocolate chips or drizzle baked cookies with a simple icing made from powdered sugar and milk.
Special Dietary Needs
- Gluten-Free: Substitute the all-purpose flour with a gluten-free flour blend. Ensure all other ingredients are certified gluten-free.
- Vegan: Use plant-based butter and substitute eggs with flaxseed meal mixed with water or commercial egg replacers. Choose dairy-free mix-ins like vegan chocolate chips.
- Low-Sugar: Reduce the sugar and substitute part of it with a granulated sugar substitute suitable for baking. Be mindful that this may affect texture and spread.
Tips for Perfect Cookie Dough Every Time
Achieving the perfect cookie dough is an art honed with practice and a few insider tips. From ingredient temperatures to mixing times, small adjustments can significantly impact your cookies’ texture, flavor, and appearance. Let’s explore some expert tips to ensure your cookie dough is flawless every time.
Ingredient Temperatures Matter
- Room Temperature Butter: Always start with butter softened to room temperature. It creams smoothly with sugar, creating a light and fluffy base for your dough. Cold butter won’t mix well, and melted butter can make your cookies too thin.
- Eggs at Room Temperature: Similar to butter, room-temperature eggs blend more easily into the dough, ensuring an even texture throughout your cookies.
Mixing Times: The Fine Line
- Do Not Over-Mix: After adding flour, mix just until it’s incorporated. Over-mixing can activate the gluten in the flour, leading to tough cookies.
- Creaming Butter and Sugar: Spend about 3-5 minutes creaming the butter and sugar until the mixture is light in color and fluffy. This step is crucial for incorporating air into your dough, which helps produce soft and tender cookies.
Dough Resting and Hydration
- Rest the Dough: If time allows, let your dough rest in the refrigerator for at least 30 minutes or even overnight. This resting period allows the flour to fully hydrate and the flavors to develop more fully, resulting in a more cohesive dough and enhanced taste.
- Chill to Prevent Spreading: Chilled dough spreads less during baking, allowing for thicker, more uniformly shaped cookies. This is especially important for intricate shapes or softer doughs.
Storage Tips for Dough
- Refrigerate or Freeze: You can refrigerate raw cookie dough for several days or freeze it for longer storage. Wrap the dough tightly in plastic wrap or place it in airtight containers to prevent it from drying out or absorbing odors from the fridge.
- Scoop Before Freezing: For convenience, scoop individual cookie dough balls onto a baking sheet and freeze them before transferring to a freezer bag. This way, you can bake just a few cookies at a time, directly from frozen, adjusting the baking time as needed.
Understanding Your Oven
- Oven Calibration: Ensure your oven is correctly calibrated. An oven thermometer can help you verify that your oven reaches the set temperature accurately, as even a slight deviation can affect baking times and results.
- Rotate Baking Sheets: Halfway through baking, rotate your baking sheets to promote even baking, especially if your oven has hot spots. This helps achieve uniformly baked cookies.
Safety Tips for Handling Cookie Dough
While the temptation to taste a spoonful of cookie dough can be irresistible, it’s essential to be aware of the safety concerns associated with raw dough. Here, we’ll cover key safety tips to ensure you can enjoy making and sampling cookie dough without worry.
Raw Eggs: The Salmonella Risk
- Understand the Risk: Raw eggs can harbor Salmonella, a bacteria that causes foodborne illness. Symptoms of Salmonella infection include fever, stomach cramps, and diarrhea.
- Use Pasteurized Eggs: To safely enjoy raw cookie dough, opt for pasteurized eggs. These eggs have been heat-treated to kill bacteria without cooking the egg, making them safe to consume raw.
Raw Flour: A Hidden Hazard
- The E. coli Concern: Like raw eggs, raw flour can also be a source of bacteria such as E. coli, which can lead to serious illness. Flour is a raw agricultural product that hasn’t been treated to kill germs.
- Heat-Treat Flour at Home: To eliminate the risk, you can heat-treat flour before using it in raw cookie dough recipes. Spread the flour on a baking sheet and bake it at 350°F (177°C) for about 5 minutes, or until it reaches 160°F (71°C). Allow it to cool before using.
Safe-to-Eat Cookie Dough Variations
- Commercially Available Options: For those who love raw cookie dough, many brands offer safe-to-eat cookie dough products formulated without raw eggs and with heat-treated flour.
- Make It Yourself: You can also make your own safe-to-eat cookie dough by modifying traditional recipes: substitute pasteurized eggs or egg alternatives and use heat-treated flour.
Hygiene and Storage
- Wash Hands and Surfaces: Always wash your hands thoroughly before and after handling raw dough. Clean all surfaces and utensils that have come into contact with raw dough using hot, soapy water.
- Store Properly: Raw cookie dough should be stored in the refrigerator and used within the recommended time frame. For longer storage, freeze the dough.
Conclusion
Mastering the art of making cookie dough opens a world of baking adventures, from classic chocolate chip cookies to innovative creations that cater to all taste preferences and dietary needs. With the detailed guide we’ve shared, you’re now equipped with the knowledge of essential ingredients, techniques, and safety tips to ensure delicious and safe outcomes every time. Remember, baking is a blend of science and creativity—each batch of cookies offers a chance to refine your skills and explore new flavors.
We encourage you to experiment, tweak, and make each recipe your own. And when you’re ready to expand your baking repertoire, visit recipeszap.com for a wide range of cookie recipes and much more. Whether you’re a novice baker or a seasoned pro, there’s always something new to discover in the world of baking. So preheat your oven, gather your ingredients, and embark on your next cookie-making journey with confidence and joy. Happy baking!