Making the Fillings
The heart of any pupusa lies in its filling. The traditional choices include cheese, beans, and pork, but the possibilities are vast, limited only by your imagination. Below, we’ll explore how to prepare each of these classic fillings, ensuring they’re packed with flavor and ready to be encased in your masa dough.
Cheese Filling
Select Your Cheese: Begin with 2 cups of grated quesillo or mozzarella cheese. Quesillo offers authenticity, while mozzarella is a readily available alternative that melts beautifully.
Enhance with Flavor: For an extra layer of taste, mix in a finely chopped jalapeño or some minced garlic into the cheese. This step is optional but can add a delightful complexity to the cheese filling.
Bean Filling
Prepare Your Beans: If starting from scratch, soak 1 cup of red or black beans overnight, then cook them until soft. For convenience, canned beans are perfectly acceptable. Mash the cooked beans into a paste, either manually or with a food processor.
Season for Depth: Sauté a finely chopped onion and a clove of garlic in a bit of oil until they’re translucent. Mix these into the bean paste, adding a pinch of salt and a dash of cumin for that deep, savory flavor profile beans are known for.
Pork Filling (Chicharrón)
Cook the Pork: Take 1 pound of pork shoulder and cut it into small pieces. Simmer these in a pot with just enough water to cover them, along with a bay leaf, some garlic, and salt. Once the water has evaporated, let the pork continue to cook in its own fat until it becomes tender and starts to brown.
Finely Shred or Grind: After cooking, let the pork cool slightly, then either shred it finely with forks or pulse it in a food processor until it reaches a ground consistency.
Season Well: Return the shredded or ground pork to the pan, adding a splash of water if needed. Incorporate Salvadoran spices like achiote and cumin, adjusting quantities to taste. Cook for a few more minutes, ensuring the flavors meld together beautifully.
Optional Ingredients for Variations
- Loroco Filling: Mix finely chopped loroco flower buds with cheese for a filling that’s uniquely Central American.
- Zucchini Filling: Combine grated zucchini with cheese for a fresh, vegetarian-friendly option.
- Spicy Pepper Filling: Dice jalapeños or bell peppers, mixing them into cheese or beans for those who prefer a bit of heat.
The key to perfect pupusa fillings is balance—each ingredient should complement the others, with nothing overwhelming the palate. Once you’ve prepared your fillings, assembling your pupusas is just around the corner. The joy of making pupusas at home lies in the freedom to experiment with these fillings, encouraging you to tailor each pupusa to personal or familial tastes. With your fillings ready and your dough prepped, the next step is bringing them together to form the pupusas, setting the stage for a cooking process that transforms simple ingredients into a meal that’s both humble and heartwarming.
Assembling and Cooking Pupusas
Now that you have your dough and fillings prepared, it’s time to bring them together and cook the pupusas. This section will guide you through the assembly process and share tips for cooking them to perfection. With practice, you’ll find a rhythm that makes pupusa-making both enjoyable and rewarding.
Assembling Pupusas
Form the Dough Balls: Start by dividing the rested dough into 8-10 equal portions, rolling each piece into a smooth ball. This helps ensure uniformity in size and cooking time.
Flatten the Balls: Using your hands, flatten each ball into a disc about 1/4 inch thick. If you have a tortilla press, you can use it to start the process, but finishing with your hands allows for the edges to be thinner, which is ideal for sealing.
Add the Filling: Place a generous spoonful of your chosen filling in the center of the flattened dough. Don’t overfill, as this can cause the pupusas to burst open during cooking. A good rule of thumb is to use about 2 tablespoons of filling per pupusa.
Seal and Shape: Carefully bring the edges of the dough over the filling, pinching them together to seal. Gently pat the dough between your hands to form a filled disc, ensuring the filling is evenly distributed and the surface is smooth.
Cooking Pupusas
Preheat Your Cooking Surface: Heat a cast iron skillet or griddle over medium heat. You want a hot surface to cook the pupusas, but not so hot that they burn on the outside before cooking through.
Cook Without Oil: Traditionally, pupusas are cooked without oil, relying on the natural non-stick properties of the cast iron and the dough itself. Place the assembled pupusas on the hot surface, leaving some space between each for easy flipping.
Look for the Golden Crust: Cook each pupusa for about 4-5 minutes on one side, then flip it over. You’re aiming for a golden brown crust on both sides, with the cheese filling starting to ooze slightly if visible.
Manage the Heat: If the pupusas are browning too quickly, reduce the heat. A slower cook allows the inside to warm through and cook properly, ensuring the fillings melt and merge with the dough.
Tips for Perfect Pupusas
- Consistent Thickness: Keeping the pupusas an even thickness ensures they cook uniformly. Too thin, and they might tear; too thick, and the middle won’t cook properly.
- Avoid Overcrowding: Cooking too many pupusas at once can lower the temperature of your cooking surface and make it difficult to manage their cooking. Work in batches for best results.
- Let Them Rest: Once cooked, let the pupusas rest for a minute or two. This brief resting period helps distribute the heat evenly, ensuring the fillings are perfectly melted and the dough is not too hot to eat.
Cooking pupusas is an art that comes with practice. Each step, from assembling to cooking, contributes to the final texture and taste. By following these guidelines, you can achieve pupusas that are golden and crispy on the outside, while soft and gooey on the inside—a true delight for the senses. The satisfaction of serving homemade pupusas, coupled with the joy of sharing them with family and friends, makes all the effort worthwhile. Next, we’ll explore how to serve your freshly made pupusas, including traditional accompaniments that elevate them from simple fare to a feast.
Serving and Accompaniments
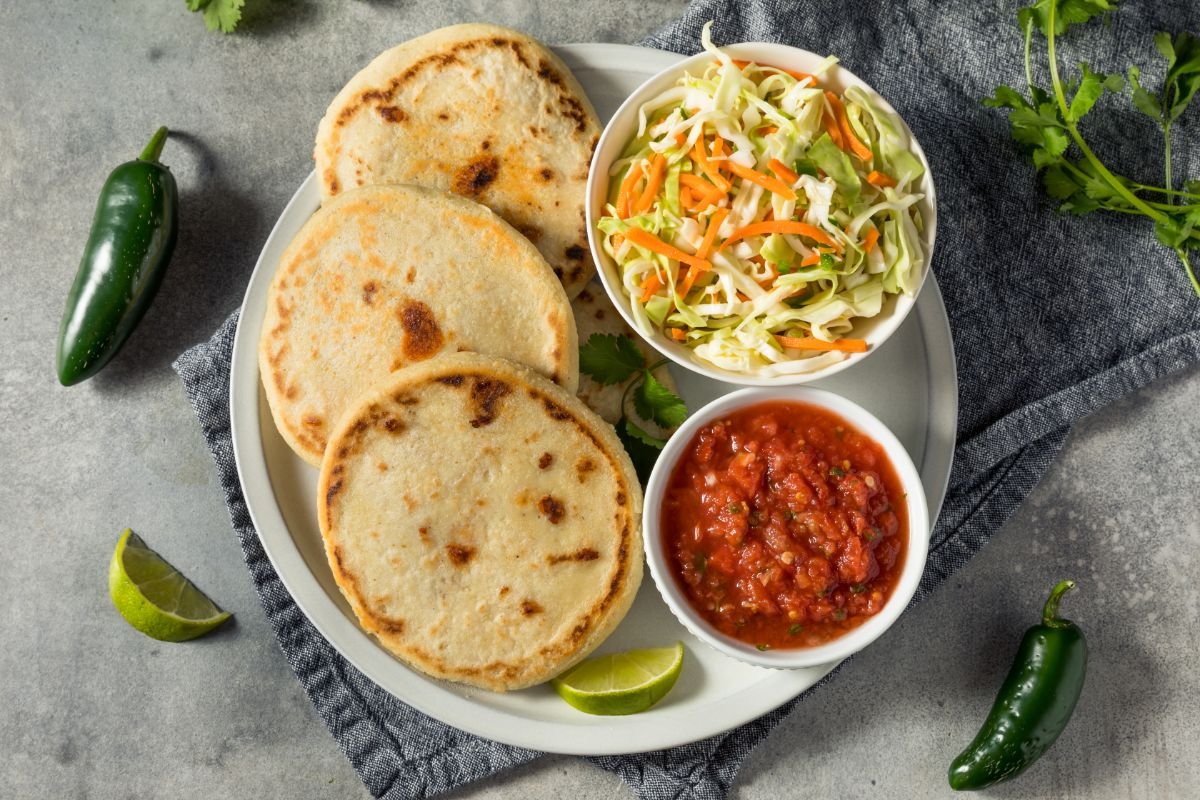
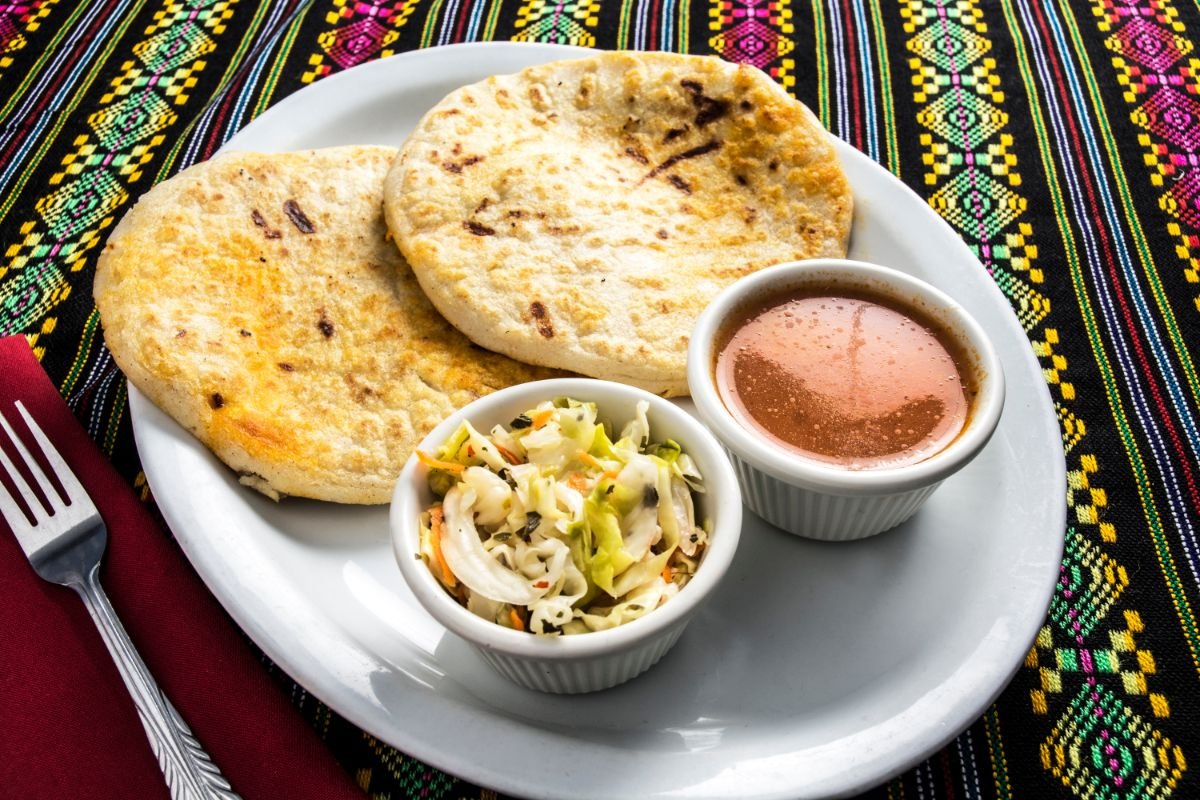
Congratulations, you’ve mastered the art of making pupusas! But no pupusa is truly complete without its traditional sides: curtido and tomato salsa. These accompaniments not only add layers of flavor but also balance the richness of the pupusas with their acidity and freshness. Let’s dive into how to serve your pupusas and prepare these essential sides.
Plating Pupusas
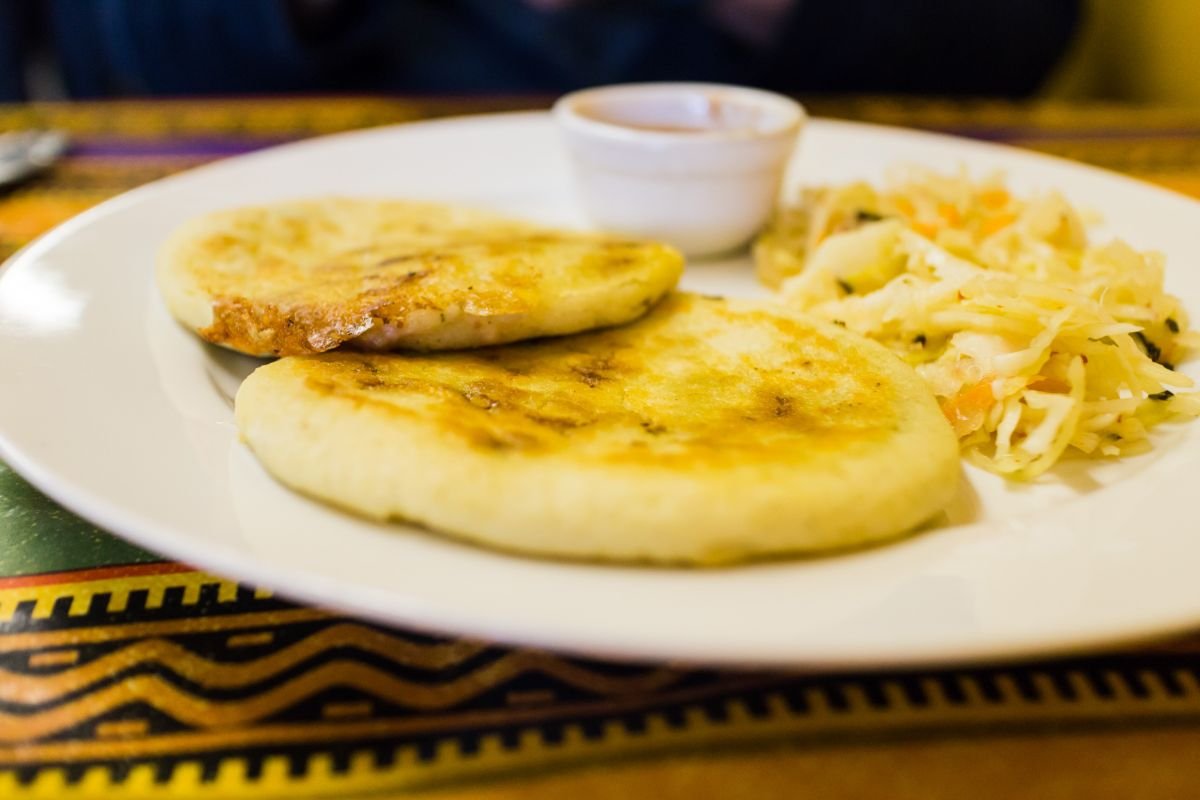
Stack Them Up: Pupusas are traditionally served in a stack, two or three per serving, letting their golden crust be the star of the plate. This presentation highlights the handcrafted nature of each pupusa.
Garnish for Color and Flavor: A sprinkle of fresh cilantro or a few slices of radish can add color and a peppery bite to your plate, complementing the flavors of the pupusas and their accompaniments.
Making Curtido
Shred and Salt: Start by shredding half a head of cabbage and one carrot. Mix these with half a sliced onion and a teaspoon of salt. The salt not only seasons the vegetables but also begins to draw out moisture, softening them slightly.
Add Vinegar and Spices: After letting the vegetables sit for about 10 minutes, add half a cup of white vinegar and a cup of water. Season with oregano, a pinch of cayenne pepper, and another teaspoon of salt. The vinegar mixture should be tangy with a hint of heat, which will pickle the vegetables.
Let It Marinate: The key to great curtido is giving it time to marinate. Ideally, prepare it at least 4 hours before serving, or even the night before. This allows the flavors to meld together and the vegetables to pickle properly.
Preparing Tomato Salsa
Cook Down the Tomatoes: In a saucepan, combine 2 cups of diced tomatoes (fresh or canned), half an onion finely chopped, and a clove of garlic minced. Cook these over medium heat until the tomatoes break down and the mixture thickens.
Season and Blend: Once cooked, add a pinch of salt, a bit of chopped cilantro, and a diced green or red pepper for a little heat. Let the mixture cool slightly, then blend until smooth. Adjust the seasoning to taste.
Serve Warm or Cold: Tomato salsa can be served either warm or cold, depending on your preference. It should be smooth with a vibrant tomato flavor, a hint of garlic, and a touch of heat from the pepper.
Beverage Pairings
Light and Refreshing: To complement the richness of the pupusas and the tanginess of the accompaniments, opt for light and refreshing beverages. A cold lager or a glass of crisp white wine works beautifully. For a non-alcoholic option, consider a hibiscus tea or a fresh limeade.
Serving pupusas with curtido and tomato salsa not only honors tradition but also elevates the meal, making it a balanced and complete dining experience. The contrast of flavors and textures— the creamy, savory fillings, the soft yet crispy dough, the tangy crunch of curtido, and the smooth, spicy tomato salsa—creates a harmony that is the hallmark of Salvadoran cuisine. Whether you’re enjoying a casual family dinner or hosting a special gathering, pupusas served with their traditional accompaniments promise a feast that’s both heartwarming and delicious. With your pupusas plated beautifully and your sides ready, it’s time to dive into this culinary adventure, savoring every bite.
Common Mistakes and Troubleshooting
Even the most experienced cooks can encounter challenges when making pupusas, especially when trying something new. This section is dedicated to helping you navigate common mistakes, offering solutions to ensure your pupusa-making experience is as smooth and enjoyable as possible. With these tips, you’ll be well-equipped to tackle any issues that arise, turning potential frustrations into opportunities for learning and improvement.
Dough Consistency
Issue: Too Dry or Crumbly Dough
- Solution: If the dough feels too dry or starts to crumble, it’s a sign that it needs more moisture. Gradually add warm water, a tablespoon at a time, kneading continuously until the dough becomes pliable and holds together without cracking.
Issue: Too Sticky Dough
- Solution: Sticky dough can be difficult to work with and may lead to problems when trying to form and fill your pupusas. Sprinkle a bit more masa harina into the dough and knead until it reaches a manageable consistency.
Filling Leakage
Issue: Fillings Spill Out During Cooking
- Solution: Leakage usually occurs if the pupusas are overstuffed or not sealed properly. Ensure you’re using the right amount of filling (about 2 tablespoons) and securely pinch the edges of the dough together. If the dough is too thin, consider making it slightly thicker to provide a better barrier.
Cooking Temperature
Issue: Burnt Outsides, Raw Insides
- Solution: This common problem arises from cooking the pupusas on a heat setting that’s too high. Lower your stove to a medium or medium-low heat to allow the pupusas to cook through evenly without burning the exterior. Patience is key here; allow each side to cook for 4-5 minutes, checking for a golden brown crust before flipping.
Issue: Doughy or Undercooked Pupusas
- Solution: Undercooked pupusas are often the result of not allowing enough cooking time for each side. If you’ve lowered the heat to prevent burning but find the pupusas still aren’t cooked through, cover the skillet or griddle with a lid to help trap heat and steam, cooking the pupusas more thoroughly.
Achieving the Perfect Crust
Issue: Lacking the Desirable Crispy Texture
- Solution: A crispy exterior with a soft interior is the hallmark of a perfect pupusa. To achieve this, ensure your cooking surface is properly preheated before adding the pupusas. A cast iron skillet or griddle is ideal for this purpose, as it retains heat well and distributes it evenly.
By addressing these common issues, you’ll enhance your ability to create pupusas that are not only delicious but also visually appealing and satisfying to eat. Remember, making pupusas is an art that improves with practice. Each batch is an opportunity to refine your technique, experiment with fillings, and, most importantly, enjoy the process. With these troubleshooting tips in your culinary toolkit, you’re ready to embrace the joy of making pupusas, confident in your ability to overcome any challenges that come your way.
Conclusion
Congratulations on embarking on this flavorful journey through the art of making pupusas at home! From selecting the perfect ingredients and mastering the dough to filling and cooking your pupusas to golden perfection, each step brings you closer to a deliciously rewarding experience. Pupusas, with their rich cultural heritage and mouthwatering simplicity, are more than just a meal; they’re a celebration of tradition and creativity on your plate.
We’ve covered essential techniques, from preparing the dough and fillings to troubleshooting common issues, ensuring you have all the tools you need to make these Salvadoran delights successfully. Remember, the beauty of pupusas lies in their versatility—don’t be afraid to experiment with different fillings and discover your own favorite combinations. Whether you stick to traditional recipes or venture into new culinary territories, the possibilities are endless.
As you continue to explore and refine your pupusa-making skills, we invite you to share your experiences and creations. Visit RecipesZap for more inspiration, tips, and a community of fellow food enthusiasts eager to explore the world of cooking. Whether you’re looking for your next culinary challenge or seeking to perfect your pupusa technique, RecipesZap is your go-to destination for all things delicious.
In closing, we hope this guide has inspired you to roll up your sleeves and bring the warm, comforting flavors of El Salvador into your home. Cooking is a journey of discovery, and with each batch of pupusas, you’re not only feeding bodies but also nourishing souls. So, keep exploring, keep cooking, and most importantly, keep enjoying the delicious rewards of your culinary adventures. Happy cooking!